RDP Sessions For All Your LLM Needs
We go over setting up a RDP and then tunneling it through a SSH!

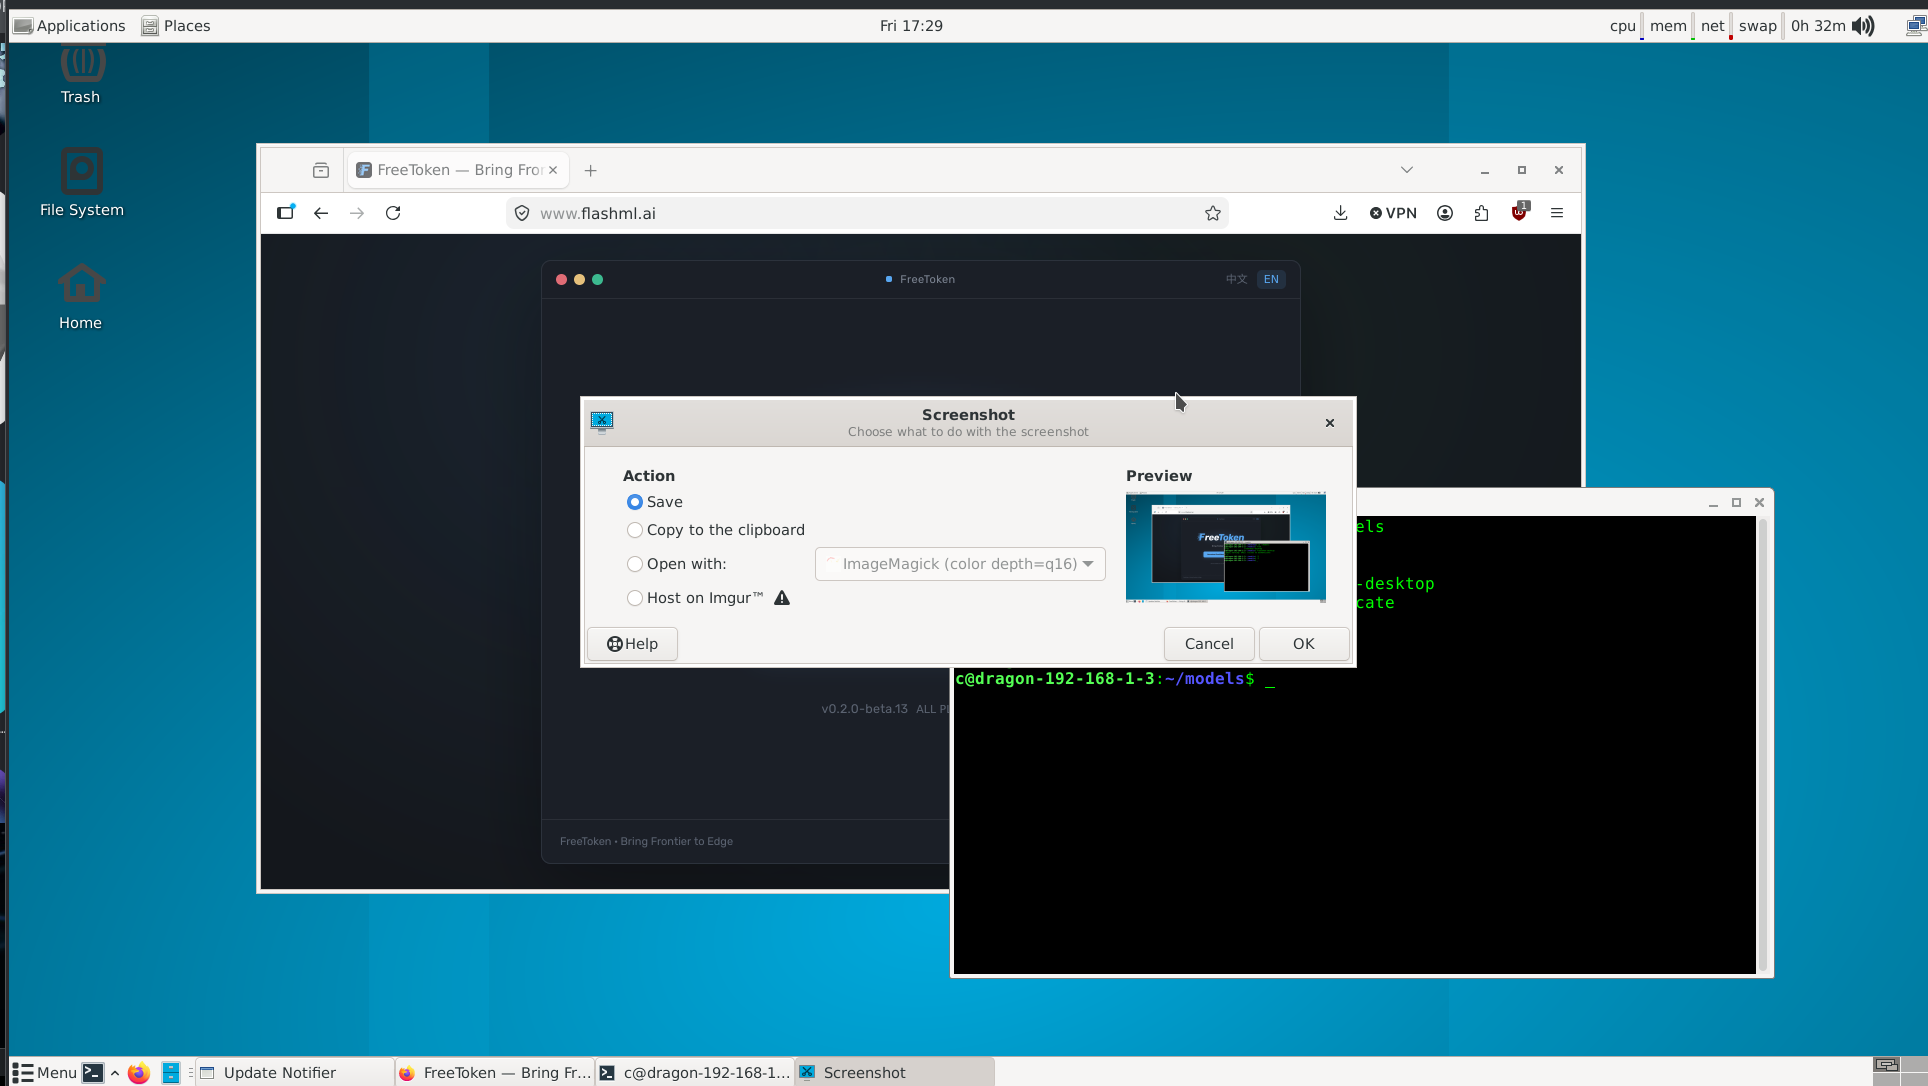
RDP Sessions in Linux are not actually that well documented - but if you run a lot of headless servers - you probably will eventually need it, and it is nice to have a handy reference guide around to setting one up. We will look at three quick parts to the RDP. We also will keep this guide short - we are all busy!
- Installing the RDP Server using
apt installand then activating it usingsystemctl - Installing the RDP Client and getting a
connectiongoing - Tunnelling a RDP through a
sshfor very secure over the internet desktops.
Let's get started!
Part A. Installing The RDP Server
Install your supports
sudo apt update
sudo apt install xfce4 xfce4-goodies xrdp xorgxrdp -y
Configure xfce4 for your any user that will use it.
echo "startxfce4" > ~/.xsession
chmod +x ~/.xsession
Once you have this done - you will need it to start automatically, so:
sudo systemctl enable --now xrdpAnd then make sure it is working:
systemctl status xrdpIt will look like this if it is good:
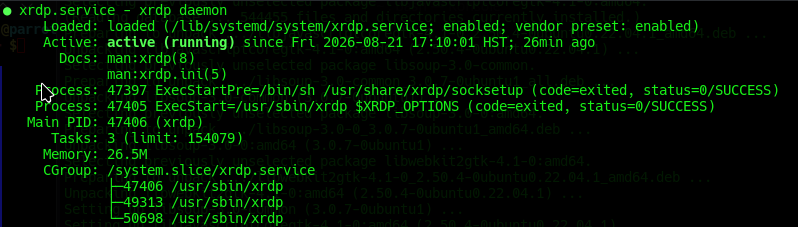
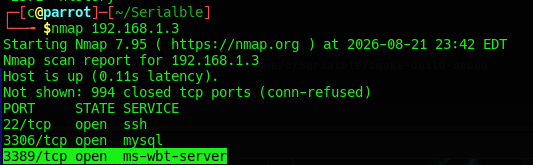
Is it running? Well let's check:
nmap 192.168.1.3Yes, atypically it binds to 3389 and you can see the port is open.
Part B. Installing / Running XFreedp3 for a Remote Desktop
- This is your client that will connect to the remote desktop that is waiting. In ParrotOS it is already built in - and with many Linux distros, so open a terminal and just type
xfreedp3and see if something shows up.
sudo apt install flatpak
flatpak remote-add --if-not-exists flathub https://flathub.org/repo/flathub.flatpakrepo
flatpak install flathub com.freerdp.FreeRDP
flatpak run com.freerdp.FreeRDP
Remote Connecting to a client desktop.
- Atypically it will resort to a very small desktop so these settings are suggested:
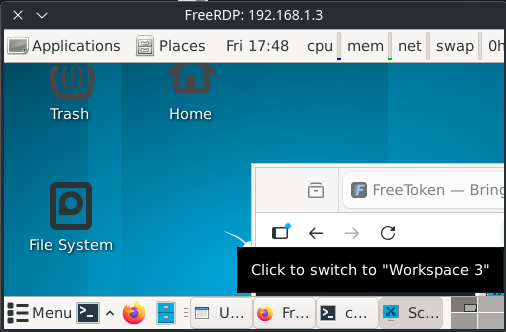
xfreerdp3 /v:192.168.1.3 /u:<user> /size:1920x1080It will ask for Domain <hit enter> and then enter your user password:

Part C. A Secure SSH to RDP (And Closing Port 3389)
- Over the internet is an entire different game, and people are probably going to want a lot more security on their connection. So first steps - bind RDP only to local host, inside
/etc/xrdp/xrdp.inichange the bindings from your external to internal ip address127.0.0.1
[Globals]
address=127.0.0.1
port=3389
Next you want to make a Local tunnel to the now internal only RDP port, so in ssh it would look like the following:
ssh -N -L 3390:localhost:3389 <user>@<ip>However you may need to expand this as:
ssh -X -L 192.168.1.64:3390:localhost:3389 c@192.168.1.3This command is rare, and often very poorly documented on the internet so we will explain it in detail.
-X(Allow graphical trunking). It can be debated if this is required for an RDP..-L(Locally a port will be opened)192.168.1.64:3390This is the local port that we are binding to where we are working if we wanted to bind only to a local port we could change it to127.0.0.1:3390localhost:3389This is not always intuitive but this is where the bind will sit on the remote machine.c@192.168.1.3- Why are we adding this if we are specifying thelocalhost:3389- this is the account on the remote machine that will permit thelocalhost:3389
Please note if you need more training and tutorials on how powerful SSH (how it can pipe mysql / html / anything) check out our tutorial:
 thinkmeltprotonmail.com
Finally now that the tunnel is open we then pipe xfreedp3 through it with:
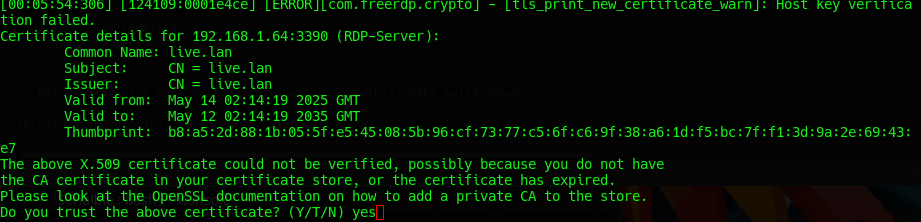
xfreedp3 /v:192.168.1.64:3390 /u:c /size:640x480In this instance it will ask if we trust the remote certificate as in:
We now get our little 640x480 desktop
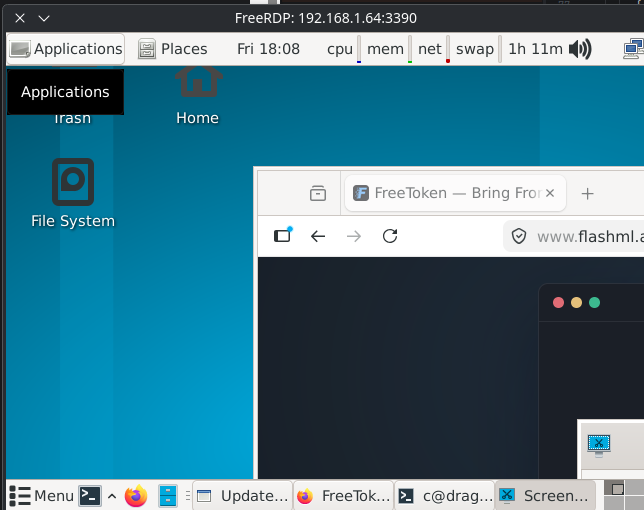
Please note we made no attempt to directly connect to the RDP port, we only connected to our local ssh tunnel.
Speed
- Because you are tunneling through a LOT of encryption it may be very slow, but it will give you secure remote desktops.