Raspbery Pi-Pico Conversion to a Pico-Probe Part 1
This simple guide goes over programming your raspberry pi into a pico-probe with hopefully CMSIS-DAP support!

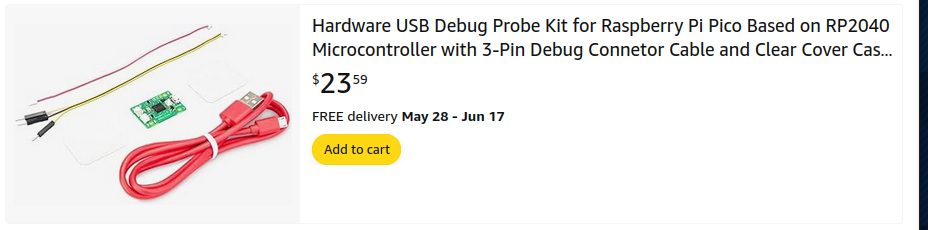
If this process is a little to much you can buy one on Amazon. They look to be selling quite quickly:
- There can be a lot of complexity and moving parts. To help and to caveat these guides are 'over-explained' repeatedly on purpose.
- If you buy a pre-canned one, it will already have a compatible .elf / .uf2 operating file installed (w/ hopefully JTAG) and the compatible RTOS system already installed.
- Here is how to roll-your-own in the Linux environment.
Download the following github:
 raspberrypi
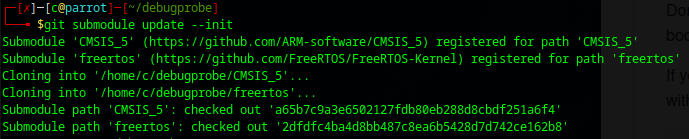
git clone https://github.com/raspberrypi/debugprobe
cd debugprobe &&  git submodule update --init
It will pull a bunch of files - include freetos...
mkdir build && cd build
cmake ..
Will actually produce an error (going by the git instructions)
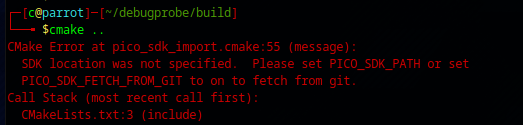
We can set our environment variables a couple ways:
export PICO_SDK_PATH="/where/lives/pico-sdk"
# or
export PICO_SDK_FETCH_FROM_GIT="true"
One can find the pico-sdk here:
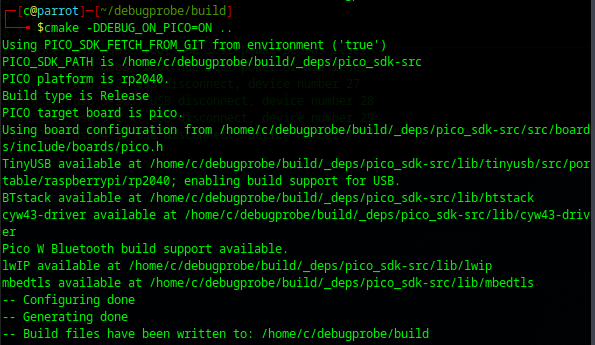
raspberrypiOne was able to do the following after:
cmake -DDEBUG_ON_PICO=ON ..The -DDEBUG_ON_PICO is important you need it for the full JTAG support.
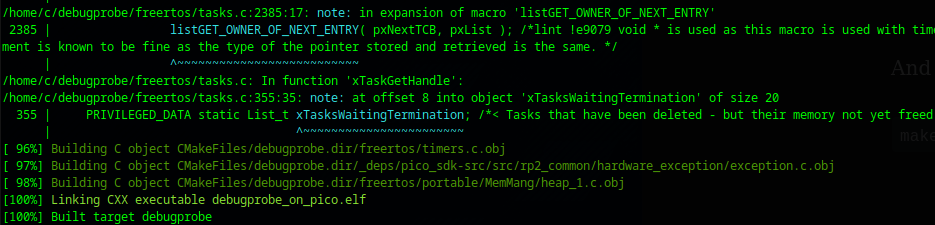
And finally (make it):
makeThis made a fair bit of output basically:
Important part: You have two generated versions:
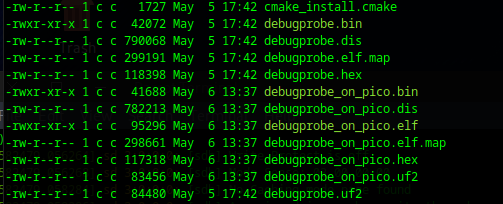
- The one that works is debugprobe_on_pico.uf2
Next we can watch the lsblk as:
watch lsblkAnd we can watch the message bus with:
dmesg -wIf you hold the BOOTSEL button while powering it on:
You will see in your dmesg -w bus something like:
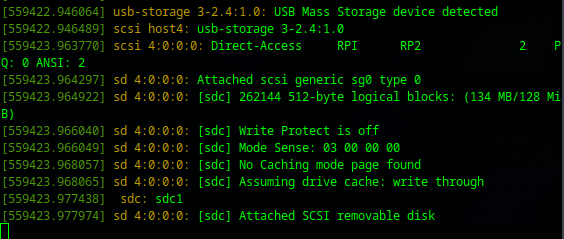
And you will see your 'watch lsblk' shift as:

Now you can mount it requiring sudo:
sudo mount /dev/sdc1 /raspb- Mount /dev/sdc1 onto the directory location /raspb
And copy your .uf2 (some suggest .elf) from your build directory to your mounted point.
- The raspberry pi pico will automatically reboot.
- The proper dmesg -w should look as:

- Note how it now says 'Product: Debug Probe on Pico (CMSIS-DAP)
Now onto Part II - Testing your pico-probe.
 thinkmeltprotonmail.com
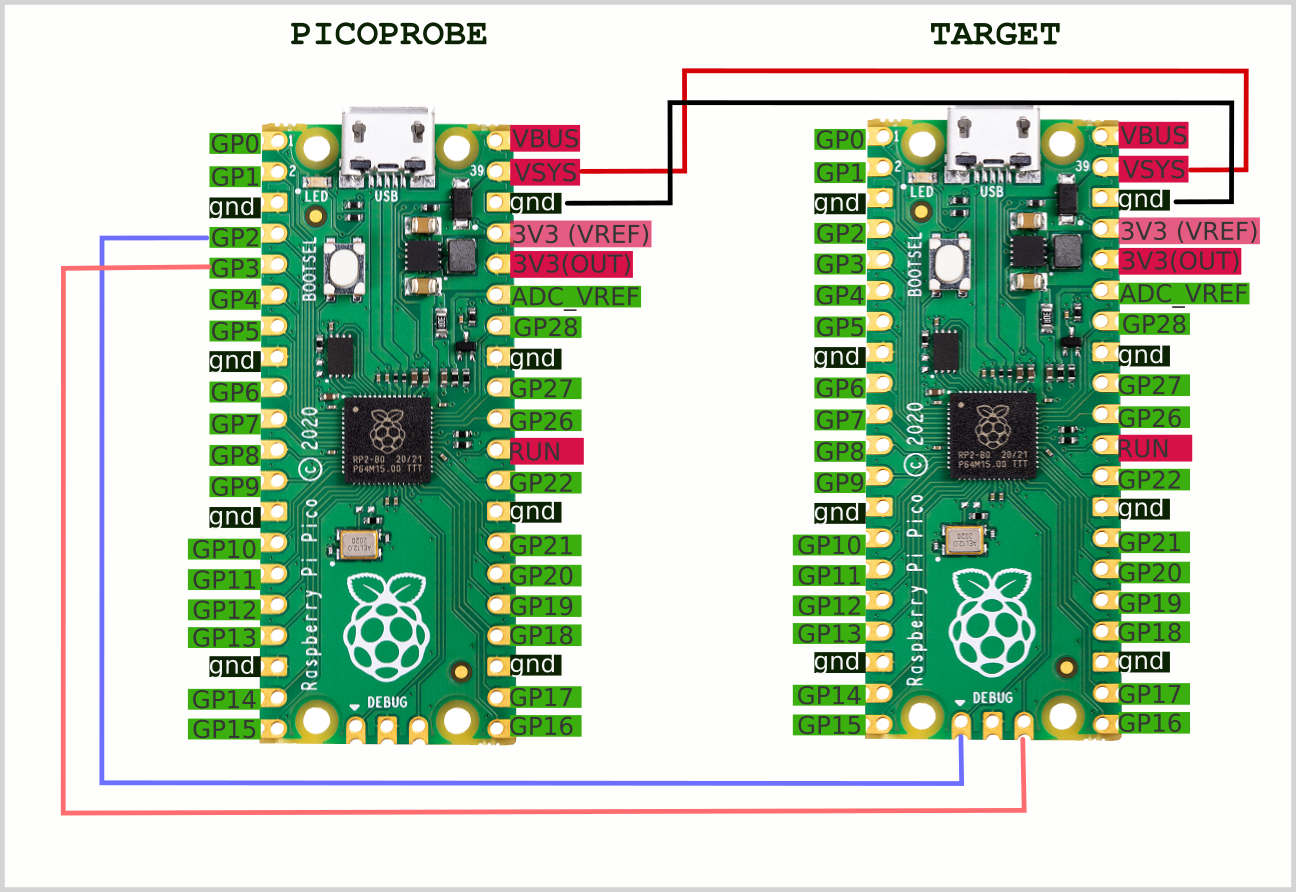
Here is a nice diagram for wiring it.