Raspberry Pi PIO Installation Guide
We show a guide to install and use PlatformIO on a Raspberry Pi!


You may want to do PlatformIO work from a Raspberry Pi. Here is a Installation Guide!
Here is a complete, step-by-step guide to install PlatformIO (PIO) on your Raspberry Pi 4 (running Raspberry Pi OS) and use it to flash the PJ26 (STM32F103C8T6) + DX-LR20 board, following the instructions from the NeutralSystem/STM32_DX-LR20_LORA repository.
Step 1: Update Your Raspberry Pi OS
Run these commands first:
sudo apt update && sudo apt upgrade -y
sudo apt install -y python3 python3-pip python3-venv git curl libffi-dev libssl-dev
Step 2: Install PlatformIO Core (CLI) on Raspberry Pi
PlatformIO works well on Raspberry Pi 4 via its Python-based installer. Use the official installer script for the most reliable setup:
# Run the official PlatformIO installer
python3 -c "$(curl -fsSL https://raw.githubusercontent.com/platformio/platformio-core-installer/master/get-platformio.py)"

# Add PlatformIO to your PATH (permanent)
echo 'export PATH="$HOME/.platformio/penv/bin:$PATH"' >> ~/.bashrc
source ~/.bashrc
Note: The above did not actually work, we ended up using wget, then python3 as in:
wget https://raw.githubusercontent.com/platformio/platformio-core-installer/master/get-platformio.py
python3 get-platformio.py
Verify the installation:
pio --version
You should see the PlatformIO version printed. If the command is not found, log out and log back in (or run source ~/.bashrc again).
Alternative (pip method) – if the script fails:
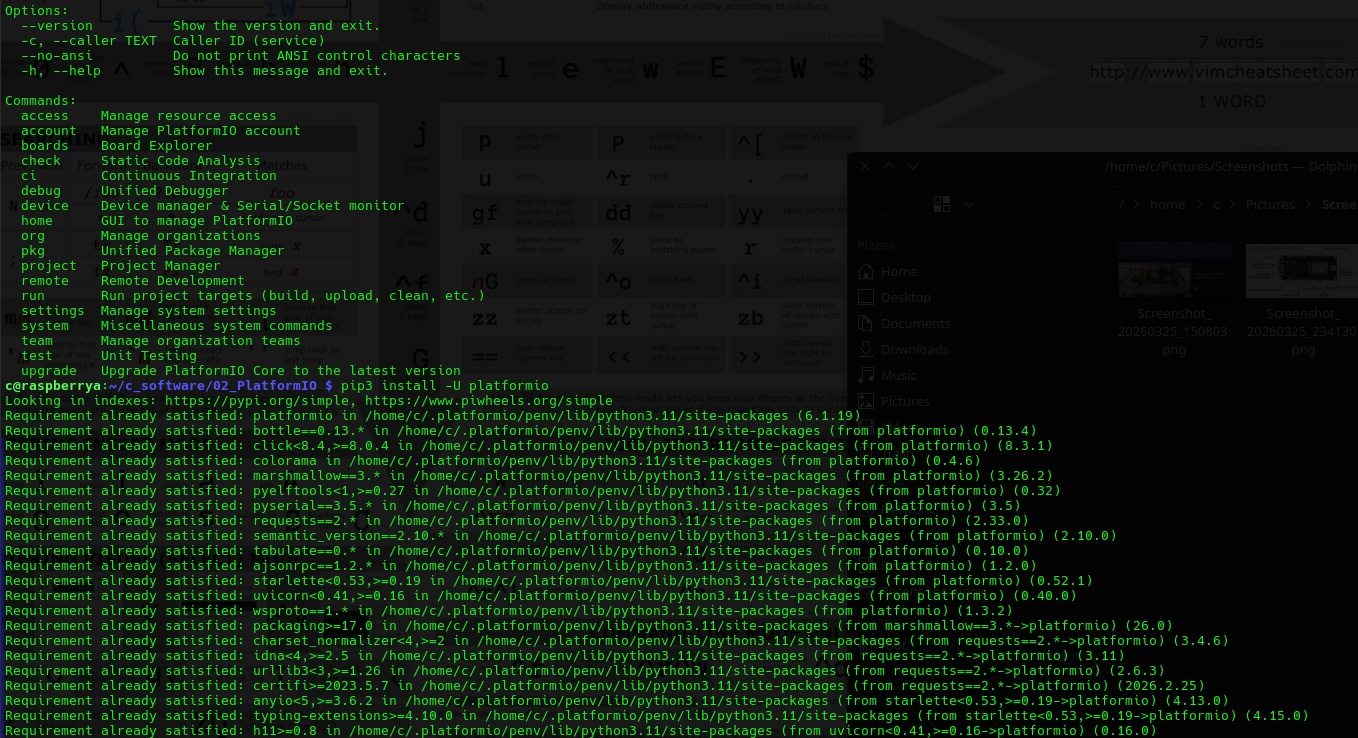
pip3 install -U platformio
Some Diagnostic Screenshots
Step 3: Grant Serial Port Permissions
The flashing process uses a USB-to-serial adapter connected to the STM32’s UART (PA9/PA10). Add your user to the dialout group:
sudo usermod -a -G dialout $USER
Reboot the Raspberry Pi or log out and log back in for the group change to take effect.
sudo reboot
Step 4: Prepare Hardware for Flashing
Connect USB-to-Serial adapter (3.3 V logic only!):
- Adapter TX → STM32 PA10 (RX)
- Adapter RX → STM32 PA9 (TX)
- Adapter GND → STM32 GND
- Do not connect 5 V to the board.
Put the STM32F103 into bootloader mode (if required by your board):
- Some PJ26/DX-LR20 boards have a BOOT0 jumper or button. Set BOOT0 high and reset the board.
- The project supports serial upload via the built-in bootloader.
Identify the serial port (usually /dev/ttyUSB0 or /dev/ttyACM0):
ls /dev/ttyUSB* /dev/ttyACM*
Step 5: Clone the Repository and Flash the Firmware
git clone https://github.com/NeutralSystem/STM32_DX-LR20_LORA.git
cd STM32_DX-LR20_LORA
Build the firmware:
pio run
Flash (upload) to the board:
pio run --target upload
PlatformIO will automatically detect the serial port in most cases. If it fails to detect, specify the port explicitly by editing platformio.ini or using:
pio run --target upload --upload-port /dev/ttyUSB0
Step 6: Verify the Flash
- After flashing, reset the board.
- Open a serial terminal on the Raspberry Pi (115200 baud):
sudo apt install -y minicom
minicom -b 115200 -D /dev/ttyUSB0
(Replace /dev/ttyUSB0 with your actual port.)
- You should see a
>prompt. Typehelpto list available CLI commands (status, LED blink, register dump, send ping, RSSI, etc.).
Troubleshooting Common Issues on Raspberry Pi
- Command 'pio' not found: Run
source ~/.bashrcor reboot. - Permission denied on serial port: Ensure you are in the
dialoutgroup (groups | grep dialout). - Upload fails / no port detected: Manually specify
--upload-port /dev/ttyUSB0. Try different USB ports or adapters. - Toolchain download slow or fails: PlatformIO downloads the ARM GCC toolchain on first build. Ensure a stable internet connection.
- 32-bit vs 64-bit Raspberry Pi OS: Both should work, but 64-bit (aarch64) is recommended on Pi 4. Some older toolchains may need extra time on first run.
- Board stays in bootloader: Double-check BOOT0 pin state and reset timing.
Next Steps After Flashing
Once the firmware is loaded:
- Use the diagnostic C program from the previous response (the one that sends CLI commands over serial) to test STM32 health, read LLCC68/SX1262 registers, perform RSSI checks, and run ping tests.
- The firmware provides a rich CLI for LoRa operations, including packet send/receive, spectrum scan, and more.
Would you like me to provide:
- An updated version of the Raspberry Pi diagnostic program tailored to the exact CLI commands in this firmware?
- Instructions for modifying
platformio.ini(e.g., to force a specific upload port)? - Guidance on building a HEX file for alternative flashing tools (MCU ISP / ST-Link)?
Let me know the exact serial port you see (ls /dev/tty*) or any error messages you encounter during installation or flashing, and I will provide precise fixes.
