Octoprint Tour Guide
In this guide we go through a very basic walk-through for the Octoprint Service which can readily run on a Raspberry Pi.

Octoprint is awesome. It lets you remote manage your 3D printer, and it is also designed to run on a small SBC (Single Board Computer) like a raspberry pi zero. If you would like a good guide on installing it to a raspberry pi it is here
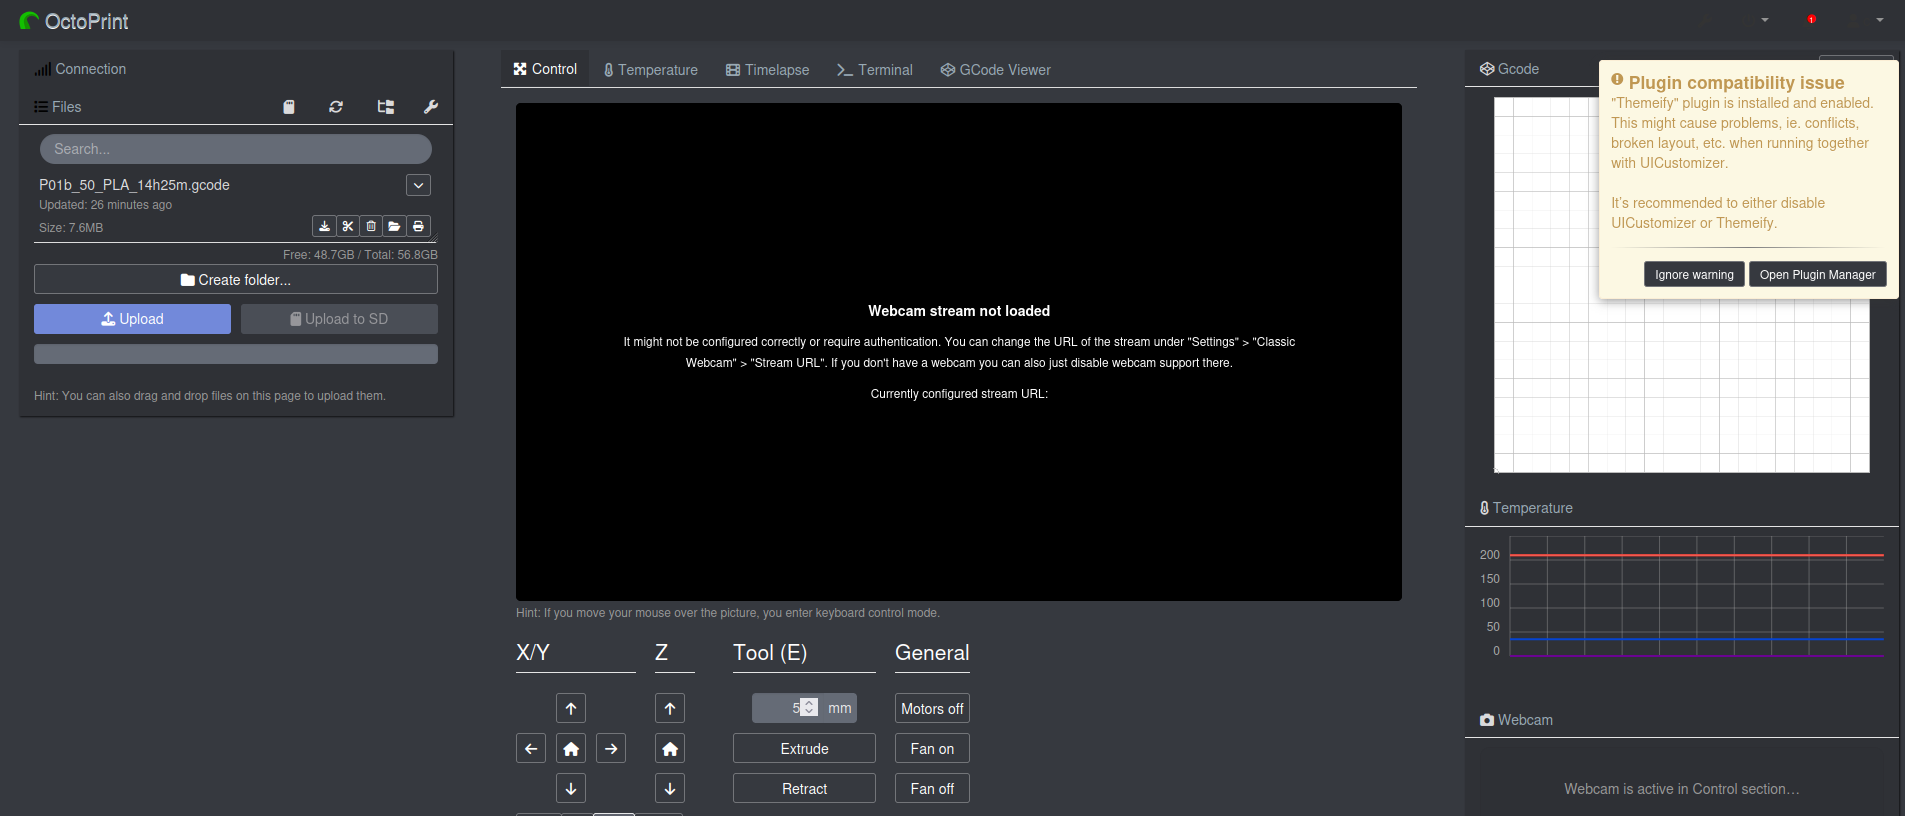
- The main screen is as:
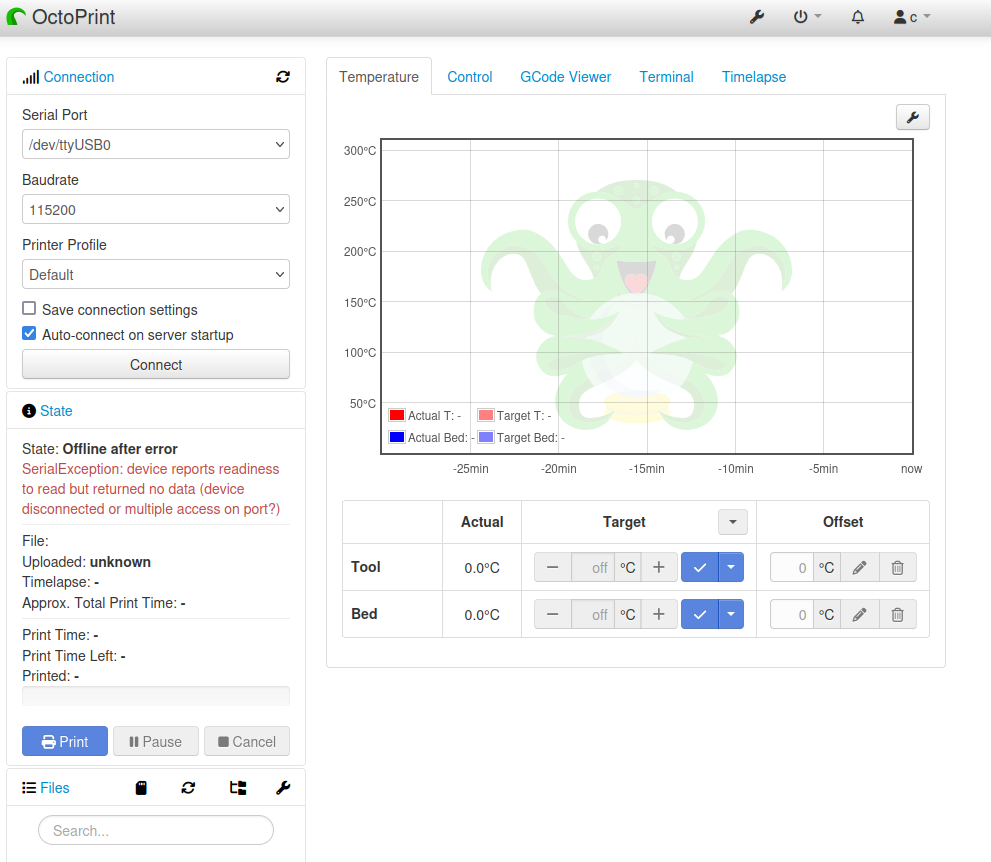
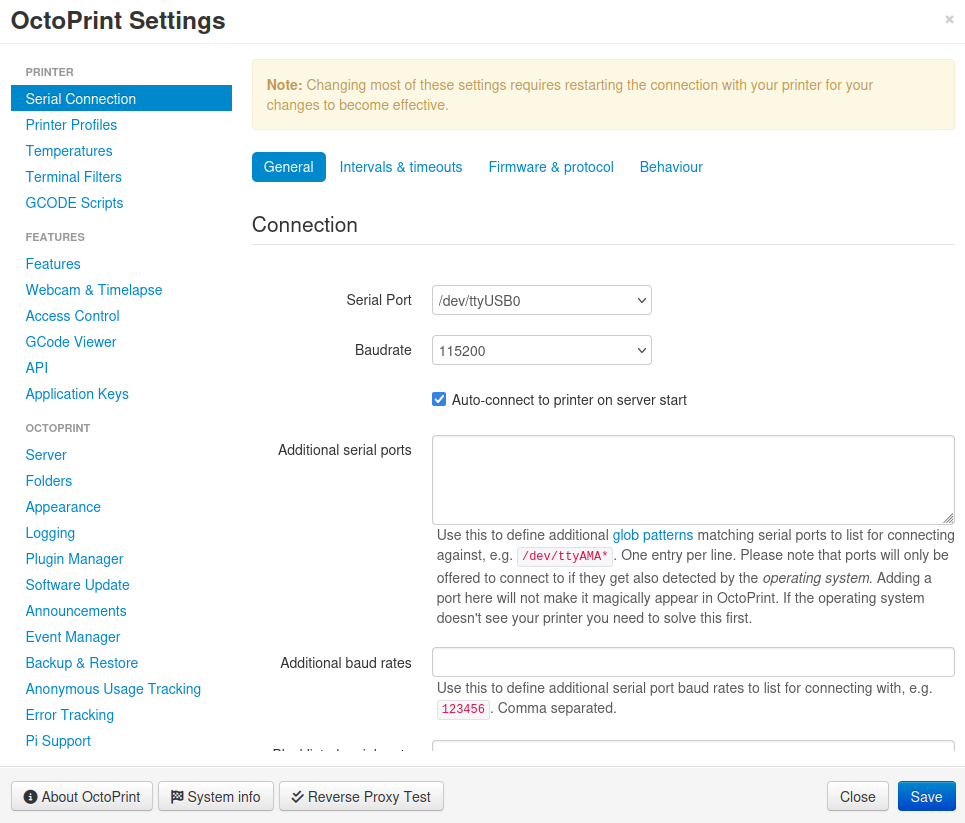
- 3D Printer connection.
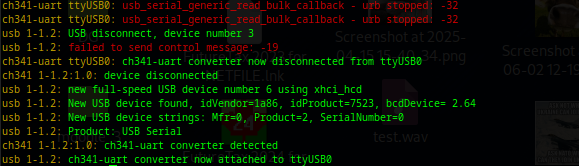
The printer connection on the top left, typically it can be found via /dev/ttyUSB0. To debug a connection you can use:
sudo dmesg -tWhich for a typical Creality Pro will appear as follows:
Main Status Screen:
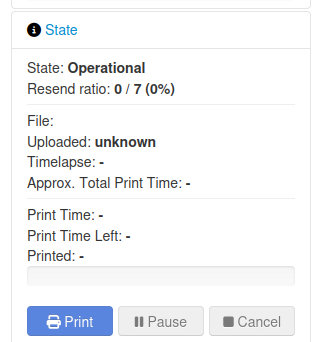
This will show you your print progress.
File manager:
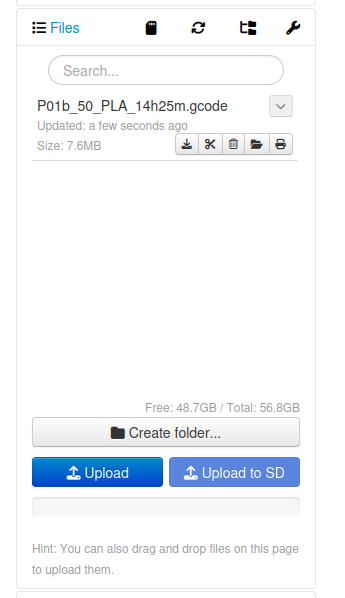
Your file manager will look as this, it requires gcode type files.
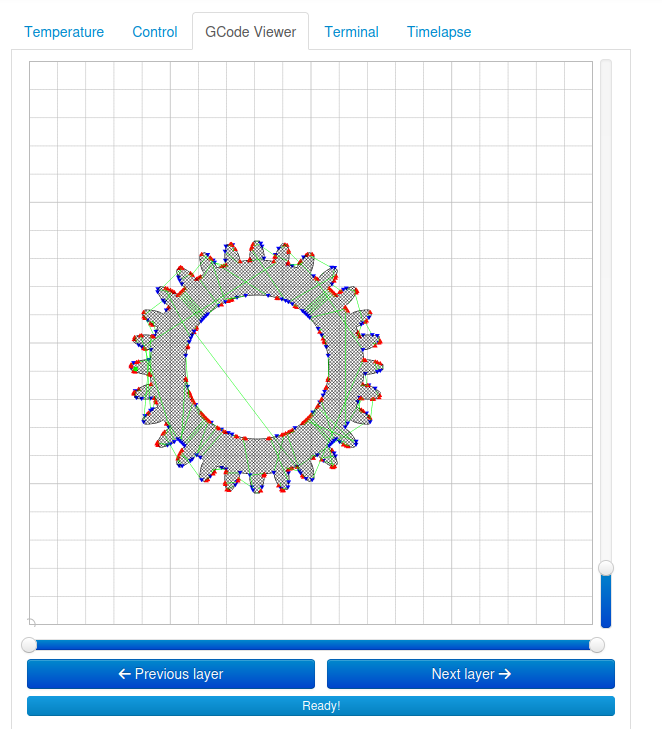
- Upload the file, then open it. you can then view it in your gcode viewer:
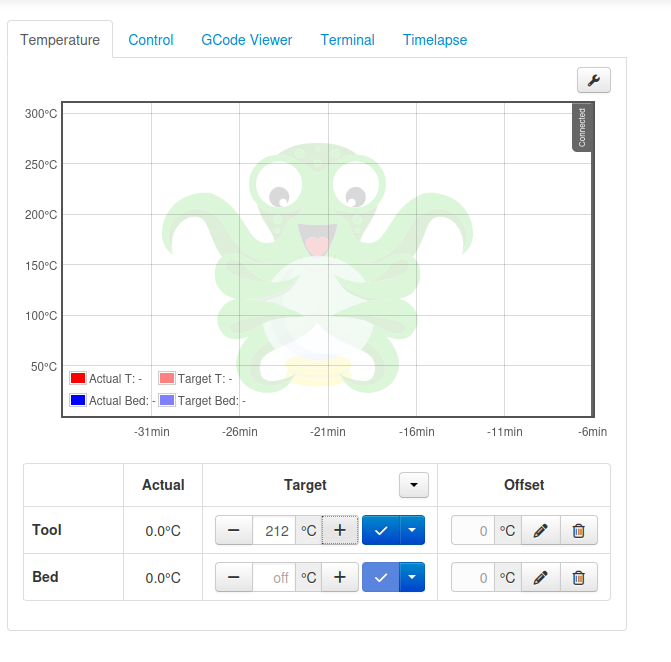
Temperature Tab. The temperature tab will show temperature over time as fed back from the controller board. If you have temperature drops that are intermittent this is great for detecting them.
- You can also manually adjust the tip, or bed temperature.
Control Tab:
You can move your X,Y,Z and Extruder for testing your printer remotely. This is handy!
- We will go over setting up your Webcan stream guide at here:
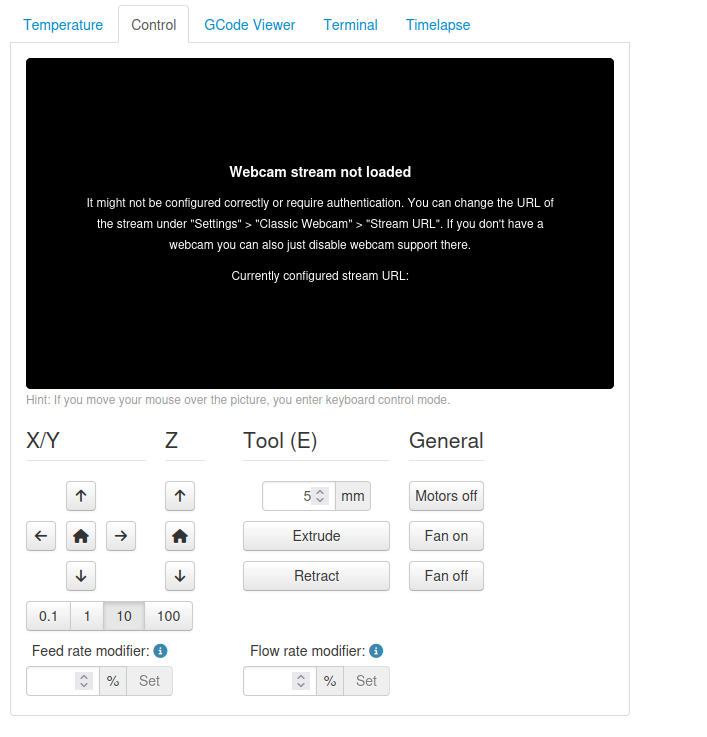
- Feed rate: (How fast the print goes)
- Flow rate: (How much material over normal to extrude)
FeedRate: You can increase this in percentages for fine calibration. Lets say you buy a faster hot end, but you are not sure if it can extrude quickly enough, by simply increasing this (and the flow rate) you can effectively have the print done much more quickly..
Flow Rate: Your print may be 'anemic' aka the calibrated amount of material to extrude can be manually adjusted via this control.
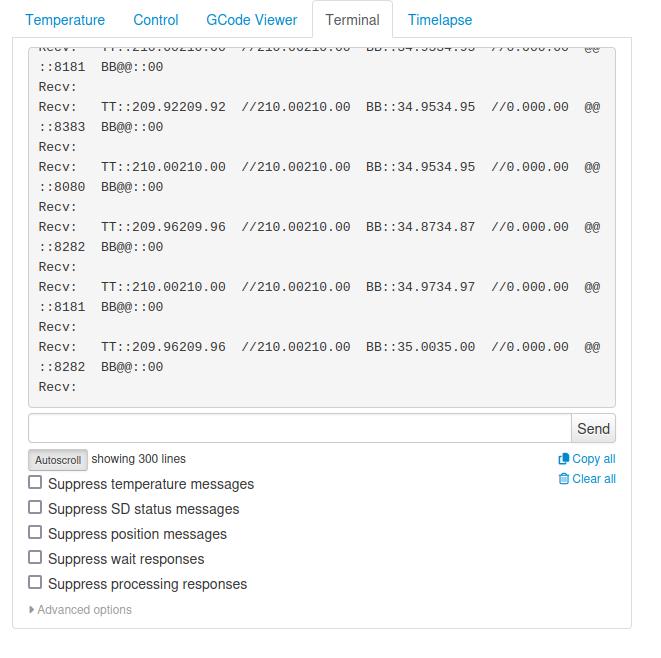
Terminal Messages: Will run pretty much non-stop. In this we can see that the tip is at 210 degrees C, the bed is at 34.9
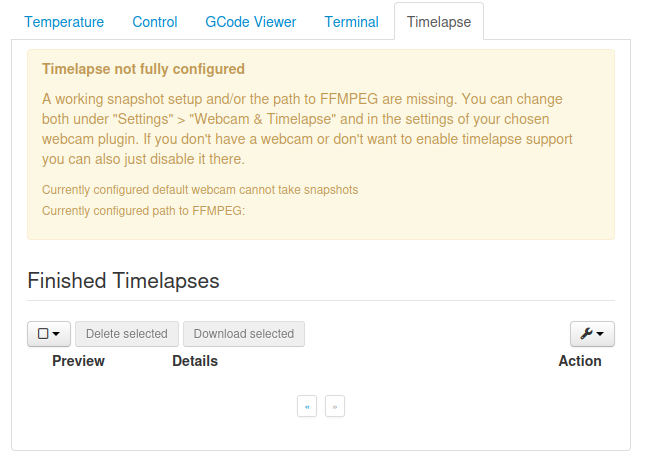
Time Lapse:
Time Lapse is awesome you can watch your print go line by line in an accelerated fashion.
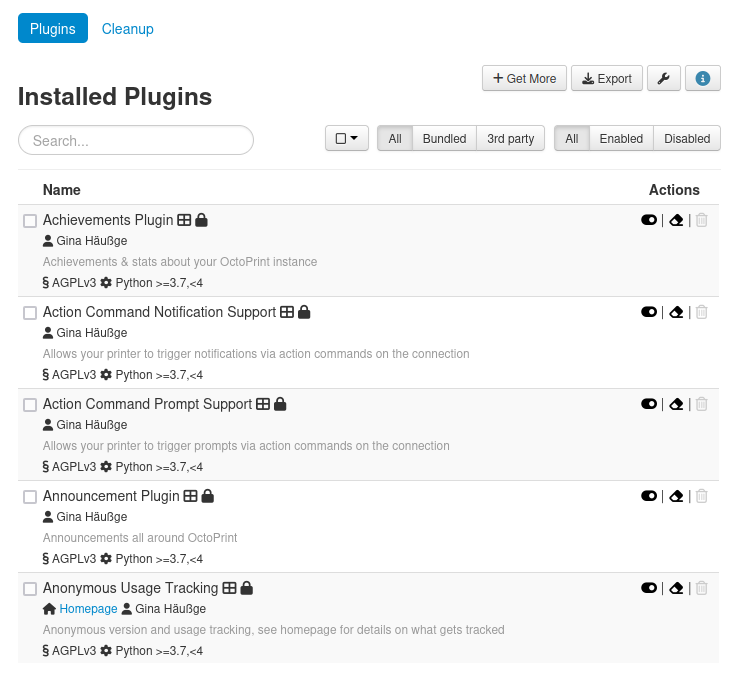
Plugins:
There are 100's of available plugins lets go over some of the best and most common one's.
If you click on the wrench there are a lot of settings that you can set for OctoPrint:
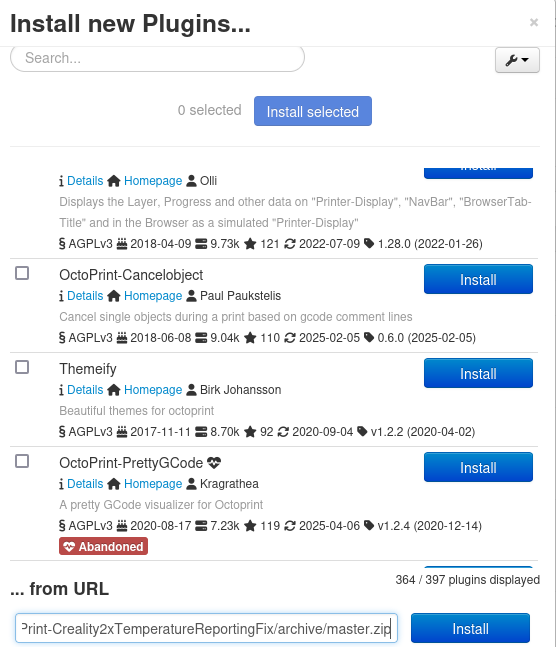
Select 'get more' to add plug-ins.
- Note it has been experienced that things can break easily when adding plugins the rule-of-thumb is introduce them slowly and test each one thoroughly.
The first one we want to try is to simply get a nice dark background:
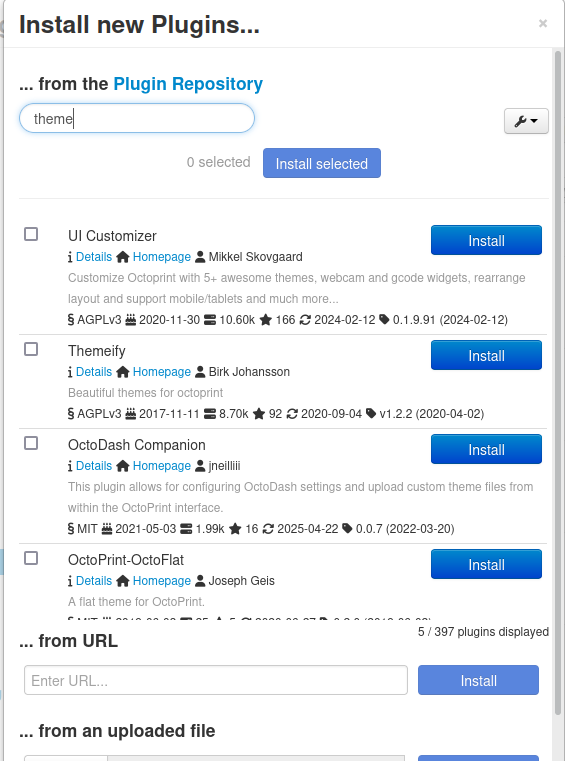
We will try UI Customizer, as it installs it will show you its progess:
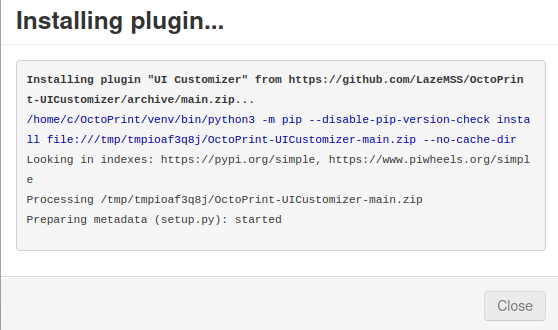
As you do things, you will receive rewards and notifications, its cool!
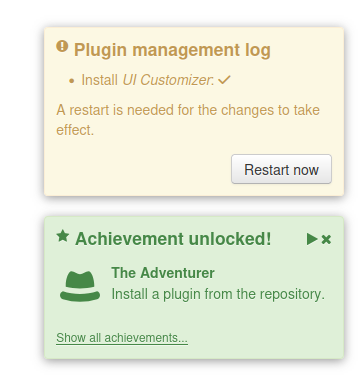
After each plugin is installed you will need to restart octoprint

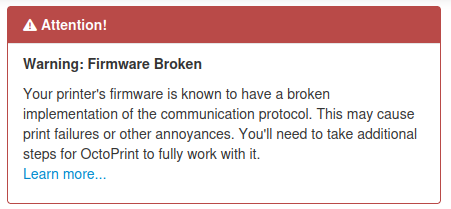
Fixing the Creality Firmware Broken Reporting Error:
Which is simply a matter of installing it from the url to the zip:
You would cut and paste the url:
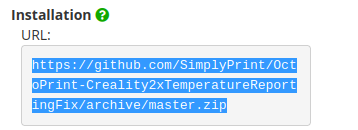
Which is at the bottom of your install from plugin:
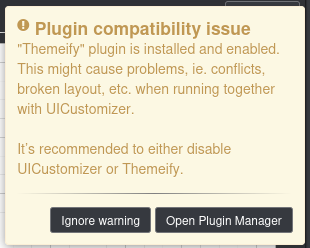
Getting Octoprint in Dark Mode.
- Plugin UI Manager and Themeify may not work together nicely, a warning was issued when both were installed: