mysql (mariadb) work-ups + docker
mysql (mariadb) work-ups + docker setup guides and examples.


As the world of sysadmin goes - it is typical to need to install a quick mysql server. Because it is often not done on a daily basis a cycle of configuration lookups followed by other work follows. By the time for the next cycle - the sysadmin has forgotten the commands and then another cycle of Google look-ups usually follows. This hopefully puts it into one package. If a sysadmin is smart he will write his own guide and on the next cycle save hours if not days of lookups and trials. When the time comes around again he only need remember roughly that he wrote a guide and where he can find it (hint - here.)
Wildcards - First the basics:
'%' is a wildcard of zero or more characters. NOT '*' like DOS etc.
First install the necessary packages:
sudo apt install mariadb-server mariadb-client Then enable and start your service:
systemctl enable mysql
systemctl start mysql
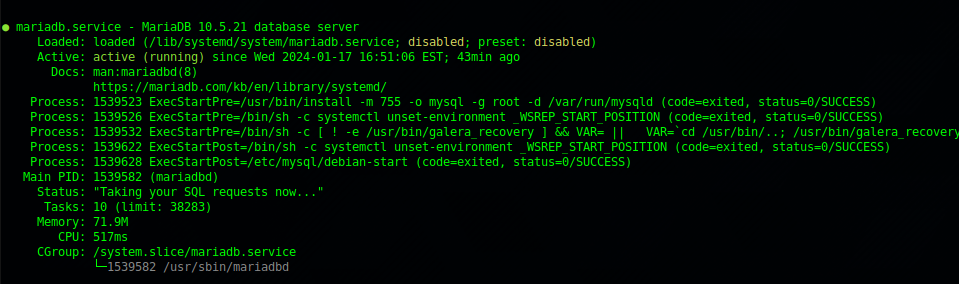
And then one can inspect it to make sure it is working:
Bind to More IP Addresses:
Edit /etc/mysql/my.cnf and add:
[mysqld]
bind-address=0.0.0.0
Restart with:
systemctl restart mysqlYou may need to open up the port, as root:
ufw allow 3306It will show up in a nmap scan as :
nmap 192.168.1.3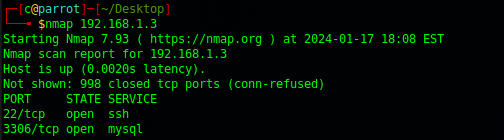
User Administration.
Before anything is done set your root admin password:
mysqladmin -u root passwordOnce the main admin is set we can look at subaccounts.
mysql user administration must be looked at as a completely different beast from the standard Unix / Linux user administration.
Consider:
root@localhost
root@192.168.1.3
Are technically seen by mysql and looked at as two separate users, each with their own permission sets.
Show all Users:
SELECT User FROM mysql.user;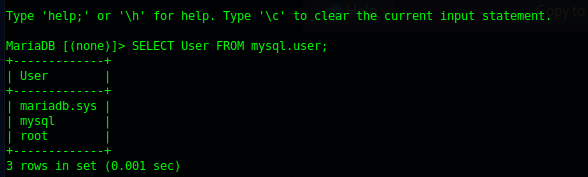
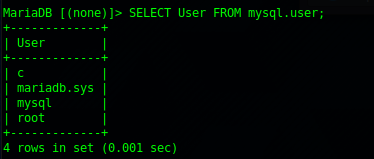
Add User:
CREATE USER 'c'@'localhost';
CREATE USER 'c'@'%';
Will show us the added user. Note the double wrapping is important 'c' and 'localhost'
Set User Permissions:
GRANT ALL PRIVILEGES ON *.* TO 'c'@'localhost' IDENTIFIED BY 'password';Show User Grants:
SHOW GRANTS FOR 'c'@'localhost'; // or
SHOW GRANTS FOR c@localhost;
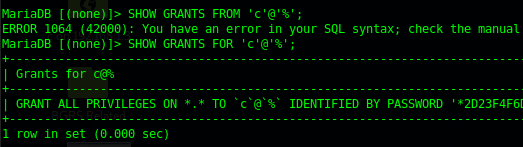
SHOW GRANTS FOR 'c'@'%%'; # Note this will not allow wild card connections
SHOW GRANTS FOR 'c'@'%'; # This will allow wildcard connections.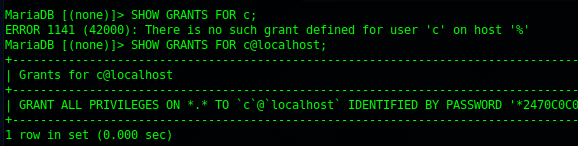
Drop User:
DROP USER c@localhost;Connect from Remote:
Once you have done the above, creating the user and opening the associate ports, one can connect from remote with:
mysql -u c -p --host=192.168.1.3PART II - Adding Docker Instances Parallel to the Running mysql instance.
After this we can look at the installation inside a docker instance (container). This is apropos in production level setups as if the docker container is compromised it still provides quite a level of security against the main hosting server itself.
Installing docker we will go over our own guide:

Next we can work through a docker-compose example from, but we will be modifying it so it is internal to the Class B of the docker internal network:

Create directory for your docker-compose.yaml file:
mkdir dockermysql
cd dockermysql
nano docker-compose.yaml
Inside it put:
version: '3'

services:
  mysql:
    image: mysql:latest
    container_name: mysql
    #command: mysqld
    volumes:
      - ./dbdata:/var/lib/mysql:z
    environment:
      - MYSQL_ROOT_PASSWORD=somepassword
    restart: always
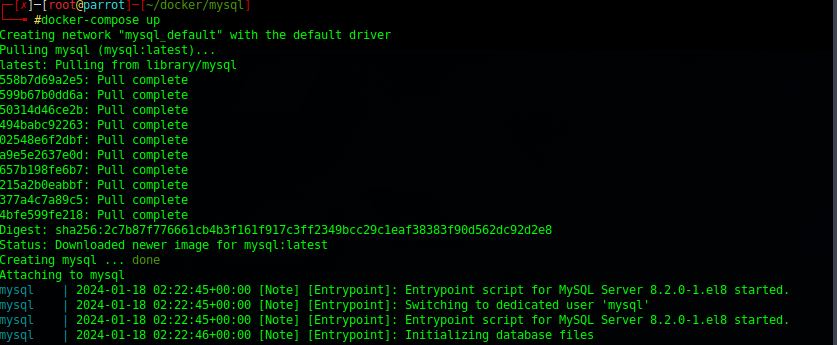
Next fire it up with:
docker-compose upIt will generate a bunch of logs as it pulls and runs:
We can inspect it with
docker inspect mysqlWill show us the IP for it:

And now we can connect to it with:
mysql -u root -p --host=172.19.0.2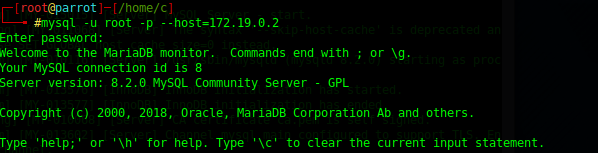
It should be noted that docker is iptables friendly - in that it handled the building of a virtual bridge that will route packets from it's internal 172.XX network to the internals of the subnet the host server is running from. If you do:
ports:
 - 3306:3306
It will then make a 1-1 mapping from the class B 172 of the docker container to the external of the host server.
