Coding in C Into the RPi2040 Zone with Console Simplified
In this comprehensive guide we explain the meat and potatoes of effectively coding in C for the raspberry pi pico.

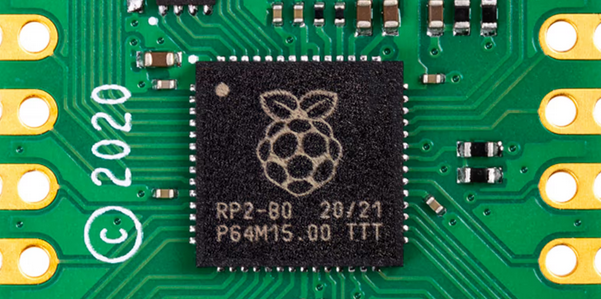
These little micro-controllers boast some amazing properties and are available from buyapi.ca at a low low cost of currently $8.45 Cdn with wifi enabled. If you just want a plain naked chip they are an astoundingly low price of $5.45.
- Typically running at 125 Mhz, sold at 133 Mhz but capable of short lived 1Ghz!
- 32-bit ARM Cortex-M0+ Dual Core
- 264 Kbit of SRAM, and 2MB of onboard flash memory.
There is really three main ways one can code this chip:
- Coding in Python: via Micropython code via a .uf2 bootloader interpreter.
- Coding in C: via .uf2 compiled programs made with CMakeLists.txt and a compiled elf2uf2 file. Note - you always drag the .uf2 file to the pico.
- Coding in Assembly: via .asm assembly language compiled to .uf2 file (guide)
Looking at the MicroPython Method of Coding
- Effectively you are dragging and dropping a micropython run-time interpreter .uf2 file onto the flash which will look for and load any .py file and run it.
- It is very easy to code but in exchange much of the power of the chip becomes dedicated to decoding the runtime python code.
- It is great for getting started doing some basic stuff. But we want to get to the real power of the chip - programming it in C.
Moving onto C. Basic C Coding from Cmd Line.
Naturally to really extract the computational muscle from this chip - you need to move up to production level C code. There are some real hurdles to get this to work, guides are scarce, and often what you can find is cryptic short explanations written by users that skipped 20 steps. In essence not everyone has the patience to fight with the coding ecosystem to get good results - so have a lot of patience. That is why this guide is over-explained on purpose. It must be also understood that a comprehensive complex CMake system will also manage your builds and things can be confusing and break quickly.
Setup Environment / Build System:
sudo apt update
sudo apt install cmake gcc-arm-none-eabi libnewlib-arm-none-eabi build-essential libstdc++-arm-none-eabi-newlib
A Standalone CMakeLists.txt Setup Outside of the pico-examples
- Download and install the library from pico-sdk
git clone https://github.com/raspberrypi/pico-sdk.git
cd pico-sdk
git submodule update --init- UART means that you are buying a USB adapter cable like so and wiring as per example here
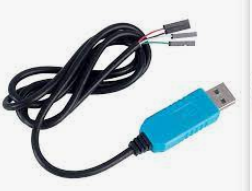
- USB means that you can talk over the standard USB cable, while connected and powering it. Grant you the ROM system inside the Rpi 2040 will make bi-directional terminal access challenging
- Setup your environment as per:
export PICO_SDK_PATH=/where/lives/pico-sdkNow in a new directory make a CMakeLists.txt as per:
cmake_minimum_required(VERSION 3.13)
include(/home/coding/pico-sdk/pico_sdk_init.cmake)
project(spi_dma C CXX ASM)
pico_sdk_init()
add_executable(spi_dma spi_dma.c)
target_link_libraries(spi_dma pico_stdlib)
pico_add_extra_outputs(spi_dma)
pico_enable_stdio_usb(spi_dma 1)
pico_enable_stdio_uart(spi_dma 0)
IMPORTANT KEYS HERE:
pico_sdk_init()- This will enable access to the pico sdk system. Without it you cannot use any of the pico-related C commands such as gpio_init(pin); etc.
pico_enable_stdio_usb(spi_dma 1)
pico_enable_stdio_uart(spi_dma 0)- Without these commands none of your printf stuff will work.
- You will next need both includes in your C code.
- Naturally if you are using a UART instead of the USB flip the bits in the above two commands.
#include <stdio.h>
#include "pico/stdlib.h"
C Code Example (Hello World with LED blink!)
#include <stdio.h>
#include "pico/stdlib.h"
#include "hardware/gpio.h"

uint main()
{
  const uint apin = 0;
  gpio_init(0);
  gpio_init(1);
  gpio_init(2);
  gpio_init(25);
  gpio_set_dir(0, GPIO_OUT);
  gpio_set_dir(1, GPIO_OUT);
  gpio_set_dir(2, GPIO_OUT);
  gpio_set_dir(25, GPIO_OUT);


  stdio_init_all();
  while (true)
  {
   gpio_put(0, 1);
   gpio_put(1, 1);
   gpio_put(2, 1);
   gpio_put(25, 1);
   printf("Hello, world!\n");
   sleep_ms(300);

   gpio_put(0, 0);
   gpio_put(1, 0);
   gpio_put(2, 0);
   gpio_put(25, 0);
   sleep_ms(300);
  }
  return 0;
}
Lastly. Without:
stdio_init_all();You will see no print statements.
From inside your directory you can now make your program as in:
cmake . && make -j 88 - use 8 cores to compile, tune to taste.
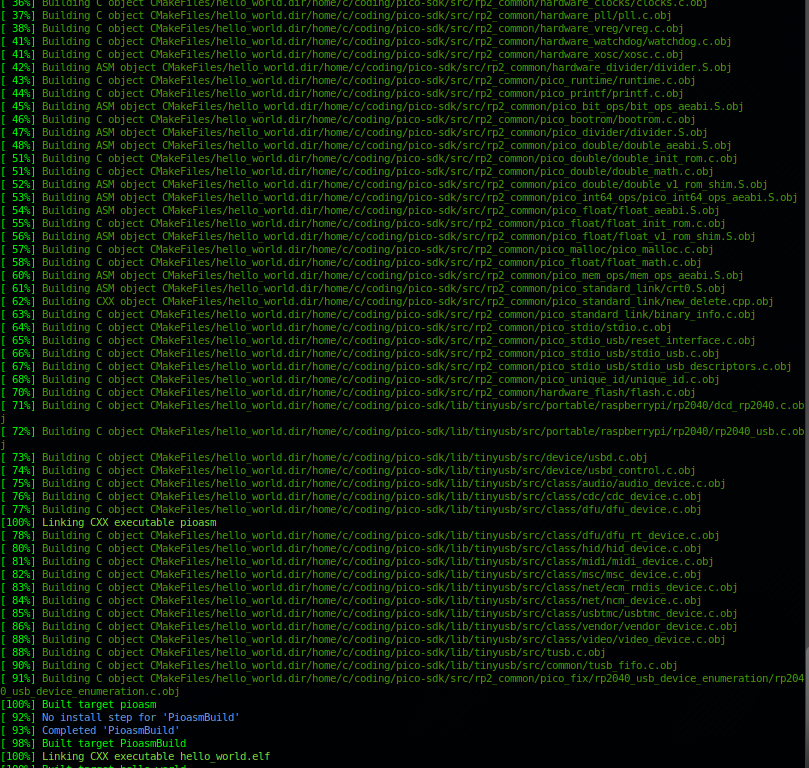
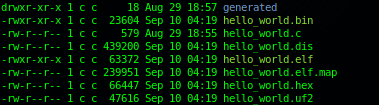
Check for a .uf2 file as in:
Loading it onto the raspberry pi pico to run:
Please Note: Sometimes you need to clean the CMake caching system to get clean compiles. This small .sh script worked for me.
rm -rf CMakeFiles
rm -rf CMakeCache.txt
rm -rf cmake_install.cmake
cmake . && make -j 12
- You will need to have several terminals open simultaneously to do this effectively and quickly. Otherwise your development cycles can be quite time consuming and there are a lot of moving parts. You just won't get code built timely.
- Most of this must be done sudo or root.
- Open up one Terminal to monitor the dmesg -w usb bus:
sudo dmesg -w- Hold down the 'bootsel' button and plug / power the raspberry pico. Yep the photo is small but so is the button!

- You will see when it connects in boot select mode the dmesg will look like the following:
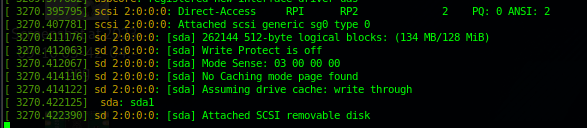
- You will also need this to see if your printf's are going to show up (explained shortly).
2. Finding the /dev/ mount and mounting it to load the file:
- In the above it has shown it is currently mounted as a sda type device to find it:
lsblkAnd it will show up as:
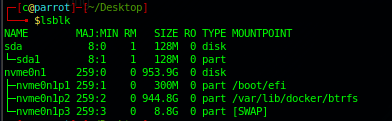
Mounting it will be as:
sudo mount /dev/sda1/ /home/mytemplocation/- Every time you unplug / plugin this device sda1 may change to sdb1, sdc1 etc unless you explicitly clear the mount as in:
sudo umount /home/mytemplocation/This is a root mounted device so again you need sudo to copy your .uf2 file onto it.
sudo cp mycompiled.uf2 /home/mytemplocation/3. Now the magic happens and how to see if you are going to get printf statements:
- When the ROM system sees the new .uf2 file it will automatically reboot.
- You will see something like this on your dmesg -w terminal
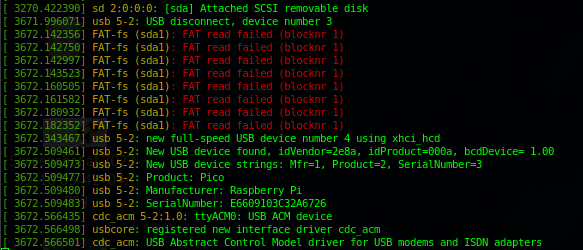
- The key here is ttyACM0 - if you do not see that you will not get printf statements.
There are a bunch of minicom code examples to monitor the /tty/ACM0 but all you really need is:
sudo cat /dev/TTYACM0
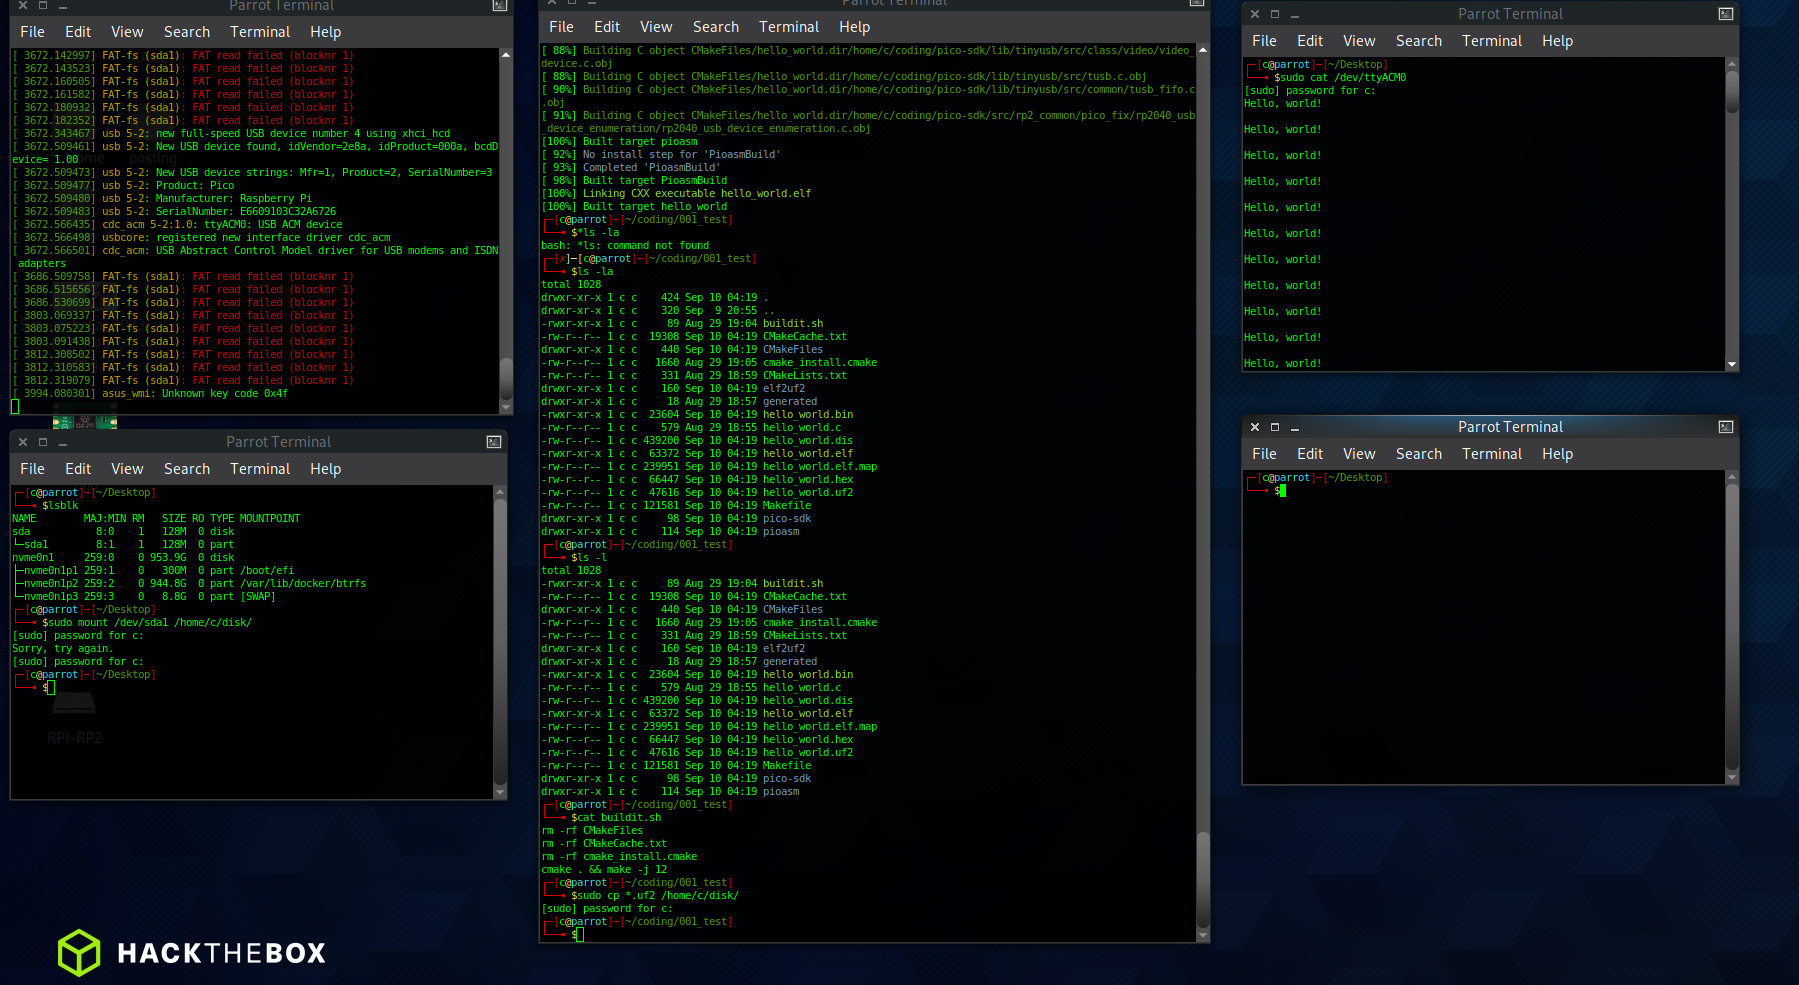
In Summary:
- 5-6 terminal windows are kept open during the development cycle. One to monitor the USB bus messages, one for coding, one for loading the /dev/sda1 to disk/, one for monitoring your /dev/ttyACM0 output, and a couple more for code lookups etc.
- Monitor and clean your CMakeCache pretty much every build use the example script above.
- Few guides explain this in this much very basic detail, but without understanding all these basic moving parts it won't work. That is why so few guides / people actually code in C for this.
- An example session:
Compilation Errors:
Finally and this happened in my instance and I needed to document this well is you may stop making your .uf2 files. You will need the .elf2uf2 executable from your pico-sdk folder - especially in instances where you are 'rolling your own' CMakelists.txt!
elf2uf2 <source.elf> <dest.uf2>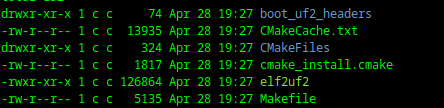
You can see the 126864 compile converter. This is very poorly documented on the internet.
