Building a quick mysql / ghost blogdocker container serving a database.
In this very good guide we setup a ghost blog locally which connects to a mysql server. We go over how browsers are forcing https connections and we need to turn that off for our local blog!


Ghost blog is absolutely fantastic for standing up for internal documentation projects to a local machine with very little effort on your part. Then you can access that documentation from anywhere.
- Install docker / docker-compose (because it is constantly changing names / configurations we can just look at it..)
apt search docker | grep docker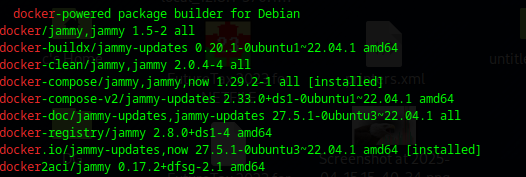
We want the docker.io / docker-compose
sudo apt install docker.io docker-compose mysql-client-core-8.0We can now confirm that it is running with:
docker ps -a
Now we want to make a directory for each container for the docker-compose.yaml. (as root).
mkdir mysql && cd mysql && nano docker-compose.ymlIn it put:
version: '2'

services:
  mysql:
    image: mysql:8.0
    ports:
      - 3306:3306
    volumes:
      - ./mysql:/var/lib/mysql
    environment:
      MYSQL_ROOT_PASSWORD: 'mysqlpassword'
There are two ways to stand it up:
- Test mode as in:
docker-compose upWill give you lots of diagnostic logs to see how it is working as in:

Once you are satisfied you can put it into permanent mode as in:
docker-compose down
docker-compose up -d  # Daemon mode run forever
Now we want to see if we can connect locally to the machine.
mysql -u root -p
If all goes well you will see it as:
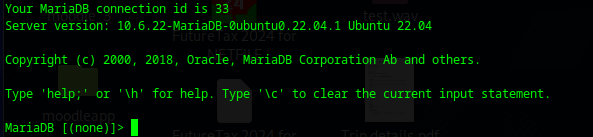
However to grant global login access you may need to amend it as:
CREATE USER 'root'@'%' IDENTIFIED BY 'PASSWORD';
GRANT ALL PRIVILEGES ON *.* TO 'root'@'%' WITH GRANT OPTION;
FLUSH PRIVILEGES;- Understand that 'root'@'%' is not the same as 'root'@'localhost' is not the same as 'root'@'127.0.0.1' each one can have different permissions.
- The nice thing about this is a very clean organized container that can hold a database separate from other containers. Lets say you have a scenario where you want to have multiple segregated databases on the same machine, instead of having to deal with user permissions - you can easily stand up a container and simply open a separate port for each one.
- Docker handles the plumbing well. the simple option of 3306:3306 mapped it to the external network easily.
Now adding the ghost blog. In another directory (ghost) make another docker-compose.yml and put:

- This is a giant 'gotcha' at this point, the line below
url: https://www.yourdomain.com/If you try local diagnostics - such as pulling the web server from the docker ip address such as:
https://172.16.1.2/It will fail! - ghost binds to what you set there. Therefore you may need to temporarily comment that line out.
version: '3.1'
name: container-name
services:

  ghost:
    image: ghost:4-alpine
    restart: unless-stopped
    ports:
      - 8080:2368
    environment:
      # see https://ghost.org/docs/config/#configuration-options
      database__client: mysql
      database__connection__host: 127.0.0.1  #Or external ip..
      database__connection__user: 'root'
      database__connection__password: 'your_password'
      database__connection__database: ghost
      # this url value is just an example, and is likely wrong for your environment!
      url: https://www.yourdomain.com/
      # contrary to the default mentioned in the linked documentation, this image defaults to NODE_ENV=production (so development mode needs to be explicitly specified if desired)
      #NODE_ENV: development
- Note in this instance 127.0.0.1 created a permission error, as noted above 'GRANT ALL PRIVILEGES TO' – In this instance I would actually need to create a user 'root'@'locahost' and grant it all privileges etc.
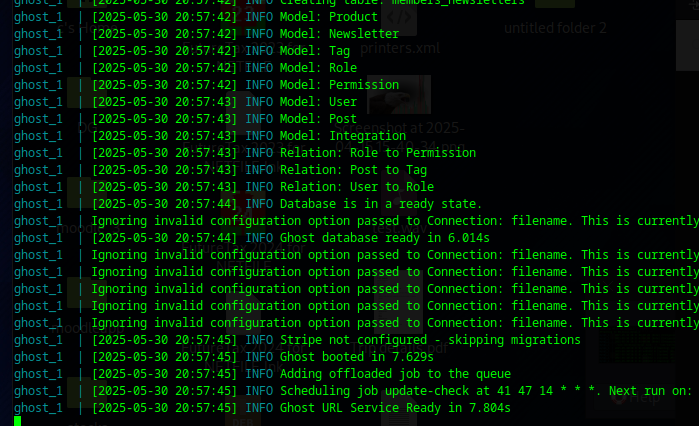
- By changing the 127.0.0.1 to the external IP it worked perfectly with the non-daemon mode showing in the log that this is working great.
- First run will go like this:
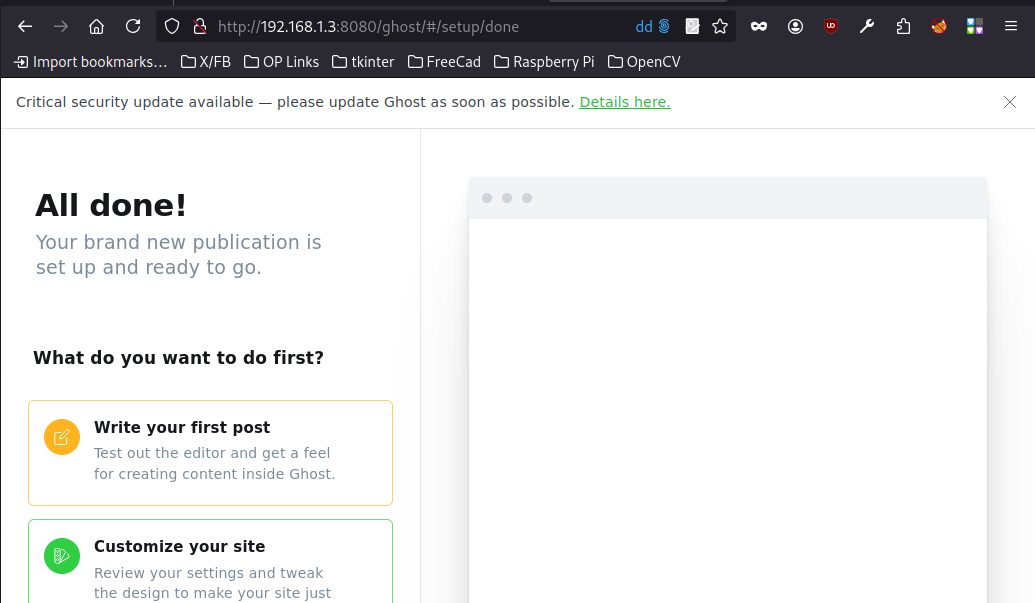
You can X-11 into the remote box, pull open a firefox, and actually open the local container at its internal port. Ghost typically binds internally to port 2368, here we can see the container listening on the local 172.21.0.2 of the container:
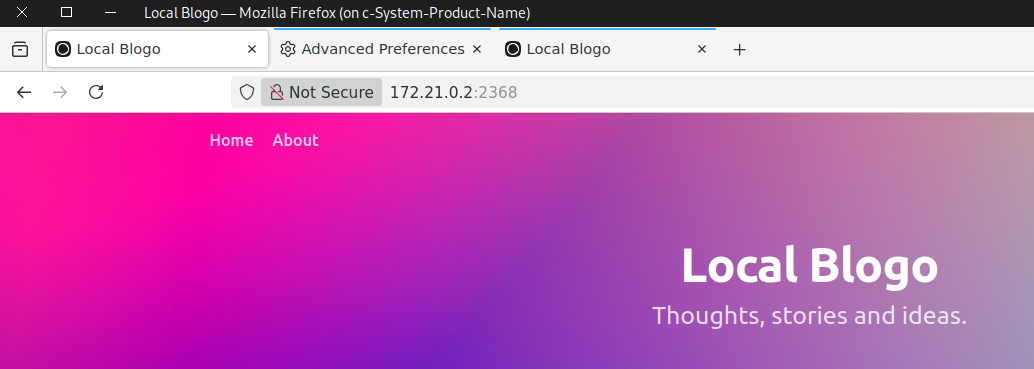
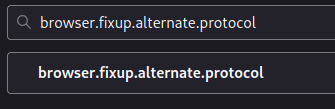
You may also need to go into firefox to stop it from forcing https connections as in about:config and then set to false (because you are still building this locally in a http environment..)
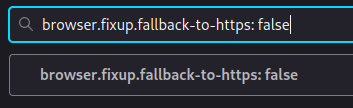
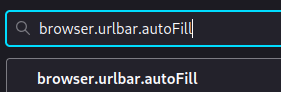
And then set this for 'http' not 'https'

- This was a bit janky - but it did work.
You should see a half-decent login finally.
Summary: What is very nice about this is one can easily have multiple co-habitating blogs on the same server each with their own posts and their own ports!
