Automatic Ad Generation Using ad-banner Stability-AI with Command-Line Stamping. Cross-Loading onto Dual 3060ti - Try 1
We go over building an automatic Ad generating engine!

The goal is simple,
- Get AI to make AD banners in the aspect ratio common.
- Get ImageMagick to stamp them with your banner ad,
- We will start with a basic setup, and slowly build from there.
- NOTE: This Stability-AI requires SIGN UP with the company, thus this guide has not been proofed (attempted by a human)
Grok 4 Wrote our Basic Guide, so:
Detailed Guide to DeepFloyd IF Model
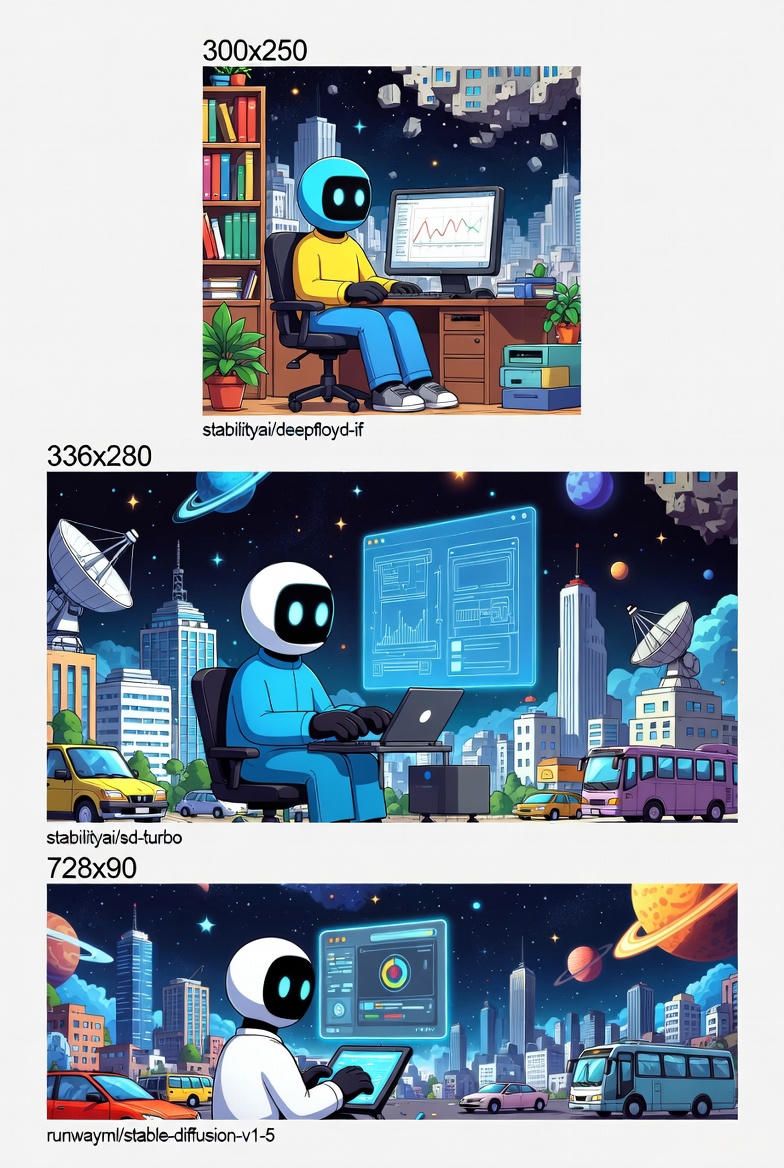
The DeepFloyd IF model, hosted on Hugging Face under the repository DeepFloyd/IF-I-XL-v1.0 (often referenced in conjunction with stabilityai/deepfloyd-if for related components), is a state-of-the-art pixel-based text-to-image diffusion model developed by DeepFloyd, a research lab under Stability AI. This guide provides a comprehensive overview of the model, including its architecture, capabilities, training details, limitations, installation instructions, and a customized example for generating images in the top three most common ad banner sizes (300x250 pixels for medium rectangle, 336x280 pixels for large rectangle, and 728x90 pixels for leaderboard, based on standard digital advertising formats). The example code incorporates model splitting across two NVIDIA GeForce RTX 3060 Ti GPUs (each with 8 GB VRAM) using device mapping and generates a batch of 10 images per size.
Model Description and Capabilities
DeepFloyd IF is a modular, cascaded diffusion model designed for generating highly photorealistic images from text prompts. It achieves superior performance in language understanding and image quality, outperforming many contemporary models with a zero-shot Fréchet Inception Distance (FID-30K) score of 6.66 on the COCO dataset. The model operates in three sequential stages:
- Stage 1 (IF-I-XL-v1.0): Generates low-resolution images (typically 64x64 pixels) from text embeddings. This stage has 4.3 billion parameters and focuses on initial content creation.
- Stage 2 (IF-II-L-v1.0): Upsamples the output from Stage 1 to higher resolution (e.g., 256x256 pixels), refining details while maintaining the original composition.
- Stage 3 (Stable Diffusion x4 Upscaler): Further upsamples to final high resolution (e.g., 1024x1024 pixels), incorporating additional noise for enhanced realism.
Key capabilities include:
- Photorealism and Language Comprehension: Produces images with exceptional detail and accurate interpretation of complex prompts, primarily in English but with limited support for Romance languages.
- Aspect Ratio Flexibility: Supports non-square resolutions by specifying custom height and width parameters (must be divisible by 8 for optimal performance), making it suitable for varied formats like ad banners.
- Safety Features: Integrates modules for content filtering (safety_checker), feature extraction, and watermarking to mitigate harmful outputs.
- Efficiency on Limited Hardware: With CPU offloading, it can run on GPUs with as little as 14 GB VRAM total, though multi-GPU setups are recommended for batch processing.
- Research Applications: Useful for artistic image generation, bias analysis, and creative tools, but restricted to non-commercial use under the DeepFloyd License.
The model excels in generating diverse imagery but may exhibit biases from its training data, such as favoring Western cultural elements.
Architecture
The core architecture employs a frozen T5-v1_1-xxl text encoder to produce embeddings, which are integrated into a UNet backbone via cross-attention and attention-pooling mechanisms. Text embeddings are computed once and reused across stages. The diffusion process uses 1000 timesteps with a cosine beta schedule. All stages incorporate hybrid self- and cross-attention for improved feature handling.
Training Details
Trained on 1.2 billion text-image pairs from LAION-A and proprietary datasets (excluding evaluation splits like COCO validation). Key parameters:
- Resolution: 64x64 for Stage 1.
- Augmentation: Shifted-center-crop with random shifts up to 10% of image size; BICUBIC resizing.
- Optimizer: AdamW8bit with DeepSpeed-Zero1.
- Batch Size: 3072.
- Steps: 2,420,000.
- Hardware: 64 nodes of 8x A100 GPUs.
- Learning Rate: OneCycle cosine schedule (warmup: 10,000 steps; max LR: 5e-5).
- Classifier-Free Guidance: 10% of prompts dropped to empty strings.
The training data includes potentially sensitive content (e.g., adult or violent themes), which may introduce biases.
Limitations and Usage Notes
- Language Support: Optimized for English; performance degrades in other languages.
- Biases and Safety: Reinforces stereotypes (e.g., gender, cultural); safety modules help but are not foolproof.
- License Restrictions: Non-commercial research only; no military, surveillance, or harmful applications. Attribution required: "DeepFloyd is licensed under the DeepFloyd License, Copyright (c) Stability AI Ltd. All Rights Reserved."
- Hardware Requirements: Minimum 14 GB VRAM with offloading; fine-tuning needs ~28 GB.
- Misuse Risks: Potential for generating discriminatory or illegal content; users bear full liability.
For production, consult the Diffusers documentation for optimizations.
Installation Instructions
- Create a Hugging Face Account and Accept License: Sign up at huggingface.co and accept the DeepFloyd License on the model card (https://huggingface.co/DeepFloyd/IF-I-XL-v1.0).
- Install Dependencies:
pip install --upgrade huggingface_hub diffusers accelerate transformers safetensors sentencepiece torch
diffusers: For the pipeline.accelerate: For multi-GPU support and device mapping.torch: Version >=2.0 recommended for built-in memory-efficient attention (remove xformers calls if using).
- Log In to Hugging Face Hub:
from huggingface_hub import login
login()  # Enter your access token when prompted.
- Verify GPU Setup: Ensure CUDA is installed and two RTX 3060 Ti GPUs are detected (use
nvidia-smiin terminal). - Optional Optimizations: For lower memory, enable FP16 and CPU offloading. Avoid installing xformers if using torch >=2.0.
Example: Generating Images in Top 3 Ad Banner Sizes
The following Python code generates 10 batched images per ad banner size using a sample prompt ("A futuristic cityscape at night"). It splits the model across two GPUs: Stage 1 and Stage 3 on GPU 0, Stage 2 on GPU 1 (to balance load, as Stages 1 and 3 are computationally intensive). Batching is achieved by repeating the prompt embeddings. Since the model upsamples by a factor of 16 overall (4x per stage from base), images are generated at a higher resolution (e.g., 1024x1024 or equivalent aspect) and then resized to exact banner dimensions using PIL for precision. All dimensions are divisible by 8.
import torch
from diffusers import DiffusionPipeline
from diffusers.utils import pt_to_pil
from PIL import Image
import os

# Define ad banner sizes (width x height)
banner_sizes = [(300, 250), (336, 280), (728, 90)]

# Sample prompt
prompt = "A futuristic cityscape at night"
batch_size = 10  # Generate 10 images per size

# Load stages with FP16 for memory efficiency
stage_1 = DiffusionPipeline.from_pretrained("DeepFloyd/IF-I-XL-v1.0", variant="fp16", torch_dtype=torch.float16)
stage_1.enable_model_cpu_offload()
stage_1.to("cuda:0")  # Assign to GPU 0

stage_2 = DiffusionPipeline.from_pretrained("DeepFloyd/IF-II-L-v1.0", text_encoder=None, variant="fp16", torch_dtype=torch.float16)
stage_2.enable_model_cpu_offload()
stage_2.to("cuda:1")  # Assign to GPU 1

safety_modules = {"feature_extractor": stage_1.feature_extractor, "safety_checker": stage_1.safety_checker, "watermarker": stage_1.watermarker}
stage_3 = DiffusionPipeline.from_pretrained("stabilityai/stable-diffusion-x4-upscaler", **safety_modules, torch_dtype=torch.float16)
stage_3.enable_model_cpu_offload()
stage_3.to("cuda:0")  # Assign to GPU 0

# Encode prompt (batch by repeating)
prompt_embeds, negative_embeds = stage_1.encode_prompt([prompt] * batch_size)
generator = torch.Generator(device="cuda:0").manual_seed(42)

for width, height in banner_sizes:
    os.makedirs(f"banner_{width}x{height}", exist_ok=True)

    # Stage 1: Generate base with aspect ratio (scale to match final after x16 upsample, closest divisible by 8)
    base_height = max(8, (height // 16) // 8 * 8)  # Minimum 8, divisible by 8
    base_width = max(8, (width // 16) // 8 * 8)
    base_images = stage_1(prompt_embeds=prompt_embeds, negative_prompt_embeds=negative_embeds, generator=generator,
                          height=base_height, width=base_width, output_type="pt").images

    # Stage 2: Upsample to x4
    mid_images = stage_2(image=base_images, prompt_embeds=prompt_embeds, negative_prompt_embeds=negative_embeds,
                         generator=generator, output_type="pt").images

    # Stage 3: Upsample to x4 (final high-res)
    high_res_images = stage_3(prompt=[prompt] * batch_size, image=mid_images, generator=generator, noise_level=100).images

    # Resize to exact banner size and save
    for i, img in enumerate(high_res_images):
        resized_img = img.resize((width, height), Image.BICUBIC)
        resized_img.save(f"banner_{width}x{height}/image_{i+1}.png")

print("Image generation complete.")
This code balances GPU usage and handles batching via tensor stacking in embeds. Run it in a Python environment with the installed dependencies. Adjust seeds or prompts as needed.
ImageMagick Script for Stamping Meme Banners
The following Bash script uses ImageMagick to add meme-style text banners (top and bottom) to all PNG images in a specified directory, resaving them with "_memed" appended. It assumes white text with black outline for visibility, using a bold font (adjust as needed). Provide top and bottom text as arguments.
#!/bin/bash

# Usage: ./meme_stamp.sh <input_directory> <top_text> <bottom_text>
# Example: ./meme_stamp.sh banner_300x250 "Top Meme Text" "Bottom Meme Text"

input_dir="$1"
top_text="$2"
bottom_text="$3"

if [ -z "$input_dir" ] || [ -z "$top_text" ] || [ -z "$bottom_text" ]; then
    echo "Usage: $0 <input_directory> <top_text> <bottom_text>"
    exit 1
fi

for file in "$input_dir"/*.png; do
    if [ -f "$file" ]; then
        output_file="${file%.png}_memed.png"
        convert "$file" \
            -font Arial-Bold -pointsize 24 -fill white -stroke black -strokewidth 2 \
            -gravity North -annotate +0+10 "$top_text" \
            -gravity South -annotate +0+10 "$bottom_text" \
            "$output_file"
        echo "Processed: $output_file"
    fi
done

echo "Meme stamping complete."
Install ImageMagick via apt install imagemagick (Ubuntu) or brew install imagemagick (macOS). Run the script in a terminal for batch processing.
